Reviewing Best Compactors For A Patio- Building Your Own
Looking to enhance the beauty of your outdoor space? Nothing is more rewarding than installing a patio that exudes luxury, elegance, and durability. One essential tool for achieving this outcome is a compactor, which ensures your foundations are properly set, resulting in a long-lasting patio. A common challenge for many DIYers is selecting the best compactor for the job. To help, we have put together this exclusive guide of best compactors for a patio to assist you on your way. Let’s dive straight in.
Why are compactors so essential for a patio?
Compactors play a massive role in the creation of a patio, no matter the material you are working with. Here is a few reasons why:
Provide stability
A stable foundation is crucial for any patio project. Without proper compaction, the subbase can shift over time, leading to an uneven surface. This instability can cause pavers to crack and create trip hazards, resulting in potential safety issues. A well-compacted surface ensures that your subbase materials stay intact and firmly in place, providing a smooth, level finish.
Longevity
The durability of your patio is likely a key consideration in your project. To enhance this durability, proper compaction is crucial. A well-compacted base significantly slows down subbase erosion by preventing water penetration. Without proper compaction, your patio surface may develop dips and depressions over time.
Solid foundations
Poorly compacted patios can result in numerous issues, including uneven settling, improper slopes, and water pooling. By using a compactor, you can ensure that your patio base is adequately compacted to support the weight of the pavers you plan to lay. Ideally, aim for 100mm of compacted MOT or stone to provide a solid foundation for most common pavers.
Makes easier installation
Well-compacted bases make the installation process much easier. With a solid foundation, avid DIYers can confidently lay their new patio, speeding up the entire process and ensuring professional, lasting results. On the other hand, poorly compacted subbases can lead to additional material costs.
What stages of patio projects require a compactor?
If you’re considering using a compactor for constructing your new outdoor patio, you might be wondering at which stages you’ll need it. The truth is, a plate compactor is essential throughout most of the construction process. In this section, we’ll explain why a compactor is important and when and how to use it at each stage of your patio build.
Subgrade preparation (Slabs/blocks)
Why it is important: Subgrade refers to the earth or ground you are building your patio on. Properly compacted this will ensure secure foundations from which to build. Overall, this reduces the amount of subgrade movement in the future.
When to compact: This process should be done before adding base materials such as stone, hardcore or MOT. This is especially important if your ground is soft or loose.
Method: Remove all vegetation, rock and debris from the area and rake level. If the soil is very dry, add a small amount of water and make several passes over the area with your plate compactor. Aim to fill any dips and holes with existing soil.
Base layer compaction (Slabs/blocks)
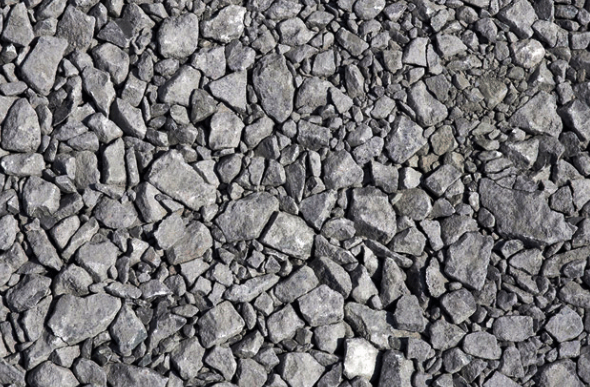
Why it is important: The base layer of your patio should be made up of a material that can further support your build. This is generally made up of MOT, hardcore or stone. The addition of this material provides a solid even base and drainage. Proper compaction is essential here to avoid the area shifting.
When to compact: Compacting should commence after adding an even layer of stone to the marked-out patio area. This should be to a depth of around 100mm or 4 inches for most garden patios.
Method: Spread the stone across the working area 50mm deep and rake even. Compact the area using a plate compactor working from the outer edges inwards. Do not exceed depths of more than 50mm to ensure thorough compaction. Repeat until your surface is evenly compacted to a depth of 100mm.
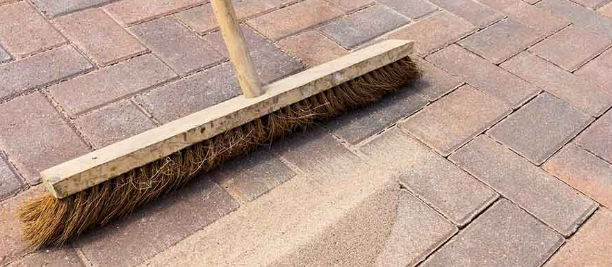
Sand Compaction (Block pavers)
Why it is important: Block pavers rest of a bed of highly compacted sand to create a smooth and level surface. The correct sand compaction is crucial to avoid sinking and movement once the pavers are laid.
When to compact: Is it vital to compact sand when establishing your sand layer for your block pavers. You should aim for a finished height of around 25mm after compacting.
Method: Spread the sand evenly within your working area to 50mm in depth. (Use a piece of wood as a screed if necessary). Compact thoroughly to a finished height of 25-30mm. This will help remove any air pockets that are created in the installation process.
Final block compaction (Block Pavers)
Why it is important: Once your blocks are finally in place, this final compaction ensures that they bed into the sand lair to prevent movement when weight is applied.
When to compact: Complete this final compaction once all pavers are laid and sand has been brushed between blocks.
Method: Place a protective mat or pad on the compactor to prevent damaging the surface of the pavers. Make multiple passes over the entire patio, ensuring even pressure is applied.
Tips for effective compacting
The most effective method for using compactors on a new patio is achieved with the following tips:
Overlap your passes: Make sure you overlap each pass to ensure you do not miss any area. Take your time as each compacting process is integral to the overall final product and its longevity.
Compact in layer: Compacting in layer is vital. Do not overestimate the efficiency of a plate compactor. You should always work in layers of stone and sand no more than 50mm.
Moisture levels: Slightly wet materials will compact better, however you should avoid compacting in too hot or wet conditions.
By incorporating the following steps into your patio build, you’ll achieve results that even a professional would be proud of. A strong, stable base is the key to a successful patio. Note that plate compactors are primarily needed during the first two stages of construction when installing slabs or flags. However, for blockwork, the compactor is required up until the final stage to bed the blocks into the sand.
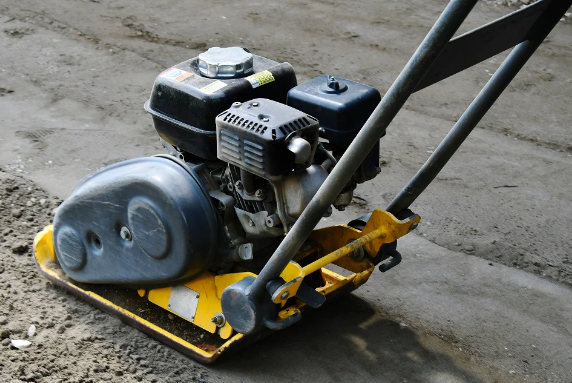
Rating different types of compactors for patio laying
Finding the most effective plate compactor for laying your new patio is crucial when choosing to hire one. Let’s compare options to help you find the most suitable equipment for your task.
Small plate compactor

Overall Score For DIY Patio Project: 4/5
Best suited: Small patios and tight spaces
Advantages
Manoeuvrability: Lightweight and easy to handle. Can easily be transported in a standard hatchback car.
Cost-effective: Entry-level cost when hiring compacting equipment.
Disadvantages:
Less Power: Will require multiple passes to reach your required compaction rate.
Less coverage: This small plate compactor offers the smallest surface area making it less efficient on larger patio projects.
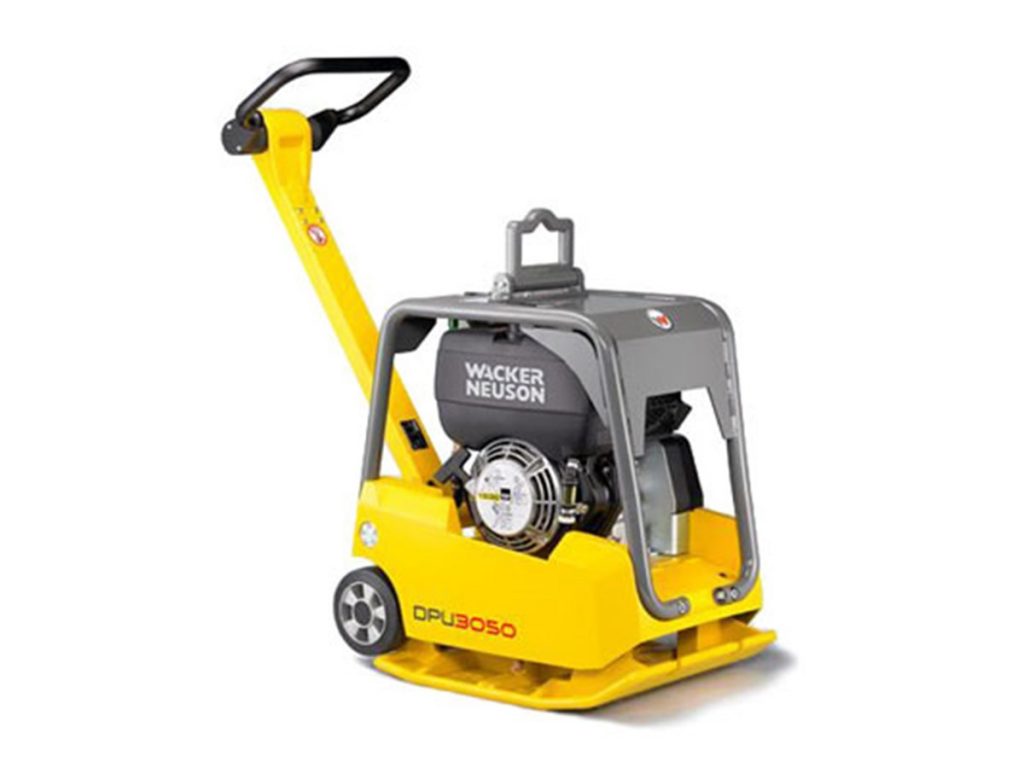
Large plate compactor
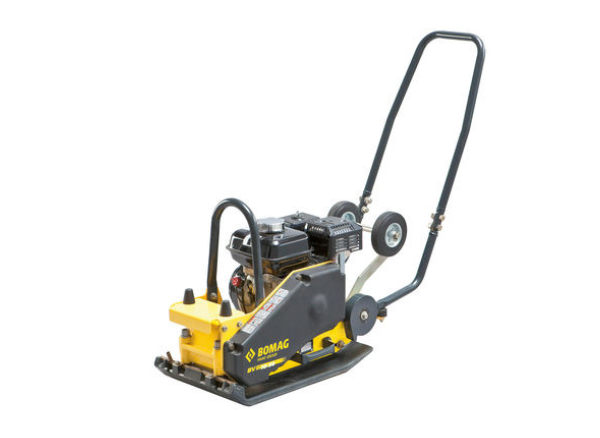
Overall Score For DIY Patio Project: 4.5/5
Best suited: Large patios
Advantages
Larger surface area: A large plate compactor offers a larger compacting area which in turn speeds up the compacting process.
Simple to use: Despite their size, these tools are simple to use like their smaller counterparts.
Disadvantages
Weight: Even though these machines can still be transported in the rear of a standard hatchback car, they will require two people to safely lift them.
No additional power: Maybe you’d think that because it’s a larger machine, it may pack a larger punch. The truth is this is not the case. However, it does offer further downward pressure compared to a smaller compactor.
Forward/reverse plate compactor
Overall Score For DIY Patio Project: 4/5
Best suited: Large/small patios with obstacles
Advantages
Versatility: Forward/reverse plate compactors offer the most versatility while operating. Their ability to change direction is key to working in tight spaces.
Large coverage: Their vibrating plates can cover more ground, meaning fewer passes.
Disadvantages:
Weight: These machines cannot be lifted by hand which can make them highly impractical for DIY projects.
Cost: Forward/reverse plate compactors are generally the more expensive of tools to hire for this task.
Trench Rammer
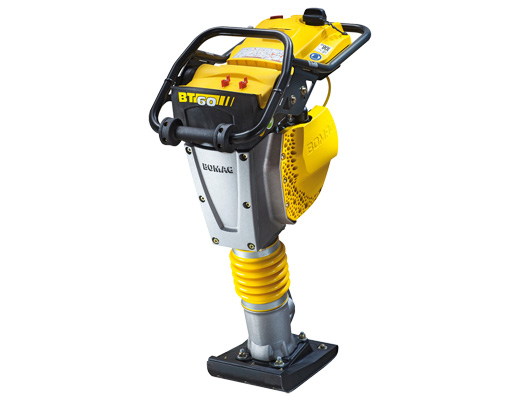
Overall Score For DIY Patio Project: 3/5
Best suited: Narrow spaces, trenches etc
Advantages
Force: Trench rammers deliver a huge amount of force to a small compact area. Ideal for being close to obstacles and buildings.
Lightweight: These machines are designed to be manoeuvred and operated by one individual safely.
Disadvantages
Coverage: Trench rammers only offer a small area of compaction at a time. Whilst the end result is still achievable, using this type of equipment would be the least efficient for a garden patio.
Inconsistent compaction: As these machines specialise in compacting small areas, achieving even compaction across larger patio surfaces is more challenging with this equipment.
As you can see, multiple different compactors are suitable for installing a new patio in your garden. Each machine has its pros and cons which will play to your benefit, depending on requirements. When choosing a plate compactor it is worth considering your time scale, size and obstacles that you might have to navigate to choose the right compactor for the job. For more information check out our guide to choosing the right plate compactor here.
Personal Protective Equipment (PPE) for Using Compactors for a Patio
Even when building your own patio at home, it is essential always to protect yourself, especially when using a compactor. When using building tools like this, we highly recommend that you use:
Heavy duty gloves
Hearing protection
Eye protection
Safety boots
Using the appropriate personal protective equipment significantly reduces the risk of accidents. While installing a patio is generally low-risk, it’s important to be aware of your working conditions and take necessary precautions. When lifting a small or large plate compactor, always lift with a straight back and from the knees. Typically, you will need two people to safely lift this type of equipment.
Another important factor to consider is exposure to vibrations. Prolonged use of vibrating equipment can cause internal bodily harm. If you experience any tingling or numbness in your hands and arms while using a plate compactor, you should immediately stop working to prevent long-term injury.
How to use plate compactors on a patio base
The base of a patio is the foundation upon which your new outdoor space will be built. Using a plate compactor to solidify this foundation is crucial. Let’s look at the process in detail to ensure you get the job done right.
Step 1: Lay Your First Layer of Stone
Lay your first layer of stone to no more than 50mm in depth. Measure this from the pegs you set out when determining your patio structure.
Step 2: Position the Compactor
Introduce the plate compactor and place it in the working position. It’s best to start from an outer edge.
Step 3: Put on Safety Equipment
Put on your safety equipment, including ear protection, eye protection, gloves, and steel-toed boots, to ensure you’re ready to work safely.
Step 4: Start the Plate Compactor
Ensure the fuel is on, the machine is turned on, and the choke is engaged if starting from cold. Set the throttle to low and pull the cord to start the engine. This may take a couple of pulls. Once running, leave it for 5 seconds before disengaging the choke. Increase to full throttle to start the vibrations. Keep one hand on the handle at all times.
Step 5: Compact the Stone
Work around the outside edges first before moving back and forth in strips, overlapping with each pass. Cover the entire patio area, ensuring the stone is evenly compacted.
Step 6: Turn Off the Compactor
When finished with the plate compactor, turn it off using the start switch.
Step 7: Add Additional Stone
Remove the plate compactor and add more stone. Repeat steps 2-6 until you have reached a base layer of 100mm.
Proper compaction is key to avoiding future problems such as uneven settling and water pooling. So don’t rush this stage of your build. Nevertheless, here are some essential tips to keep in mind when using a plate compactor:
- Storage: When not in use, store your plate compactor in a dry and safe location.
- Maintenance: Clean the machine at the end of each day, not just at the end of the hire period.
- Fuel Checks: Regularly check the fuel level and top up the tank when required.
- Safe Refuelling: Never refuel the vibrating plate when the engine is hot or running.
- Multiple Passes: You may need to use a plate compactor multiple times over an area before laying your moral or sand layer. Make extra passes at perpendicular angles to the previous pass to compact the area most effectively. You may need to add more hardcore between each application so ensure you have enough.
Where to hire compacting equipment for your patio project.
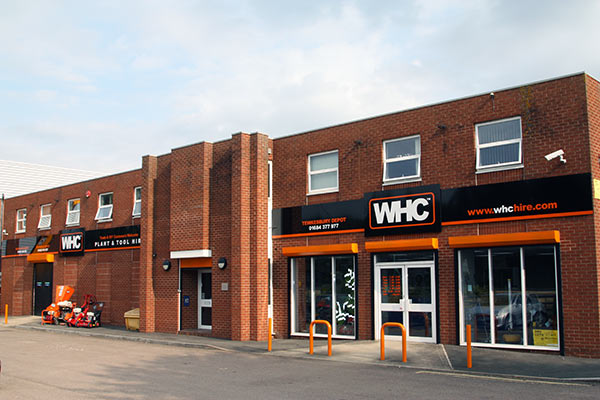
Embarking on a patio project requires the right tools to ensure a solid and professional finish. One of the most crucial pieces of equipment you’ll need is a compactor, and finding a reliable source for hiring this equipment is key to your project’s success.
At WHC Hire Services, we offer a wide range of compactors to suit any patio project, from small plate compactors for tight spaces to powerful forward-reverse models for larger areas. Our equipment is maintained to the highest standards to ensure quality and safety throughout hire.
Ready to get started on your patio project? Contact WHC Hire Services today to find the perfect compactor for your needs. Visit our website or call us on 01684377977 today!